Authorize.net is one of the major payment processors in the market. To use Authorize.net, you need to register for a new merchant account. Then you should obtain your authorize.net API login and key.
First, create a new username and password. Then with your username and password in hand, go here.
Then you follow the steps till you create the new key. You can find the detailed steps here:
- First login to your merchant account here: https://login.authorize.net/
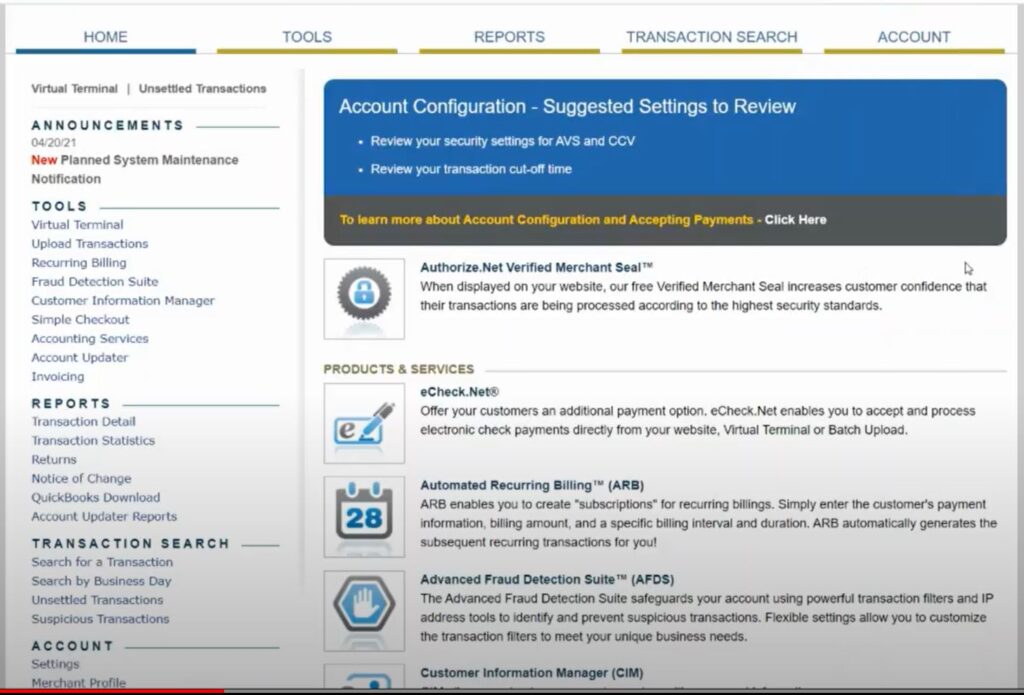
2. Go to the main toolbar and click on the account
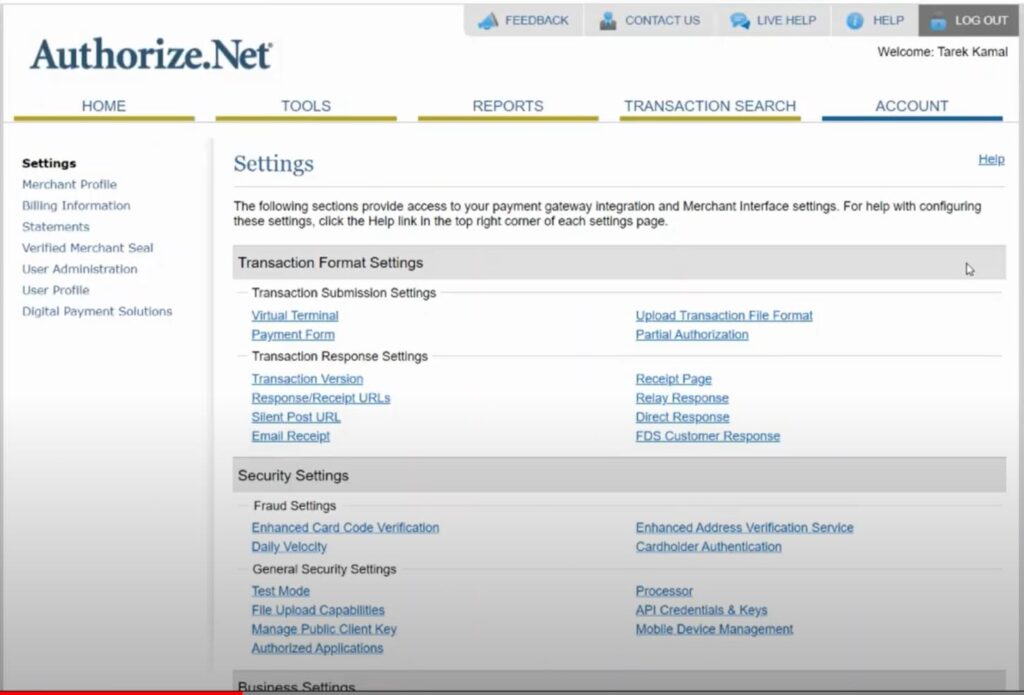
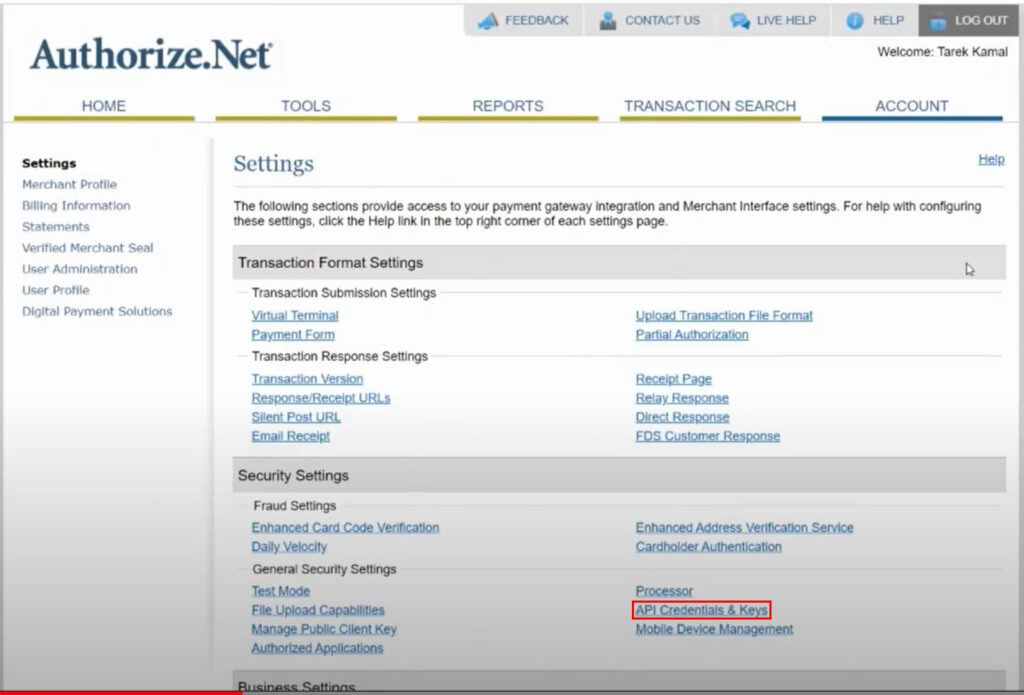
3. Go to the setting through the side menu
4. Click on the link: API Credentials & Keys
5. Then click on New Transaction Key
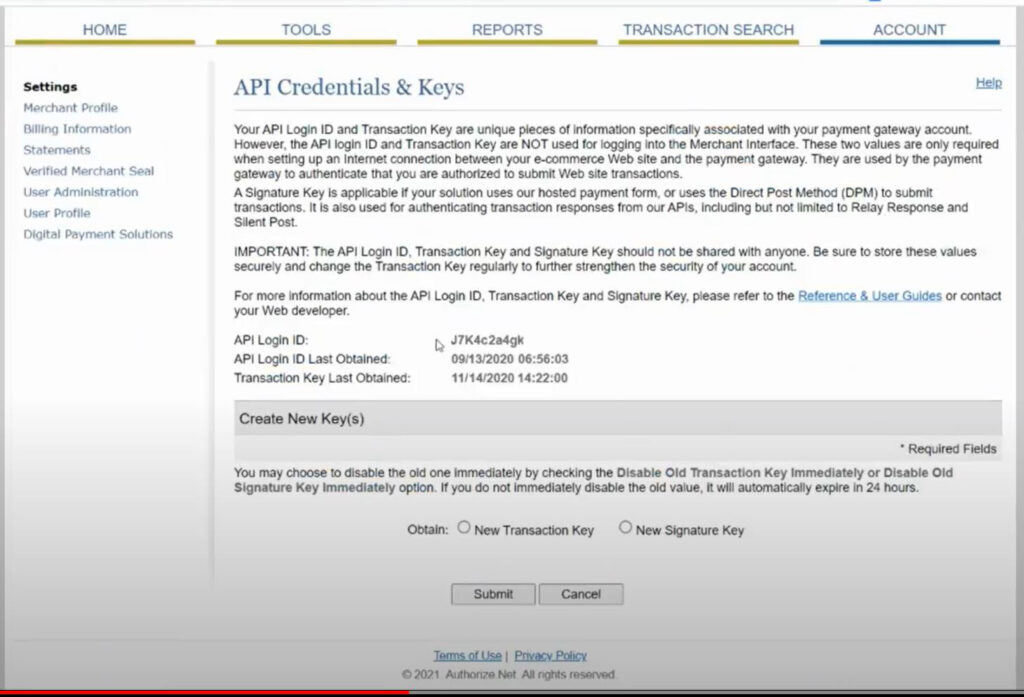
6. Side Note: At this stage, if you think your last Transaction Key is stolen, you can choose to disable that one. To do so, click on Disable Old Transaction Key.
7. Hit Submit button and continue
8. Request a verification PIN and enter it in the required field
9. Now, you can see your new Transaction Key
10. If for any reason, you forgot to disable the Old Transaction Key, it will expire after 14 days anyway. Otherwise, it will be deleted right away.
11. As a safety precaution, keep your new key in a safe place and don’t share it with anyone. This will protect your transactions.
This transaction key acts as a password to authenticate transactions. If a submitted request to the gateway is not authenticated then the transaction will be rejected. If something goes wrong for any reason, you can create a new Transaction Key at any time.
There is a video tutorial on the website so if you get stuck, watch it for help.
You are good to go! Now you can start coding your transactions. You can get the sample code from https://www.authorize.net/documents/SDKsamples/.